Showing posts with label techniques. Show all posts

Monday, August 13, 2018

Bolas Canastas & Cellini peyote freaks

You may have noticed by now that I am a Cellini Peyote freak. And a pearl aficionada. My moto could be

"If it ain't got pearls, it's got to have swirls."

Because I love pearls too. I love to use them together.

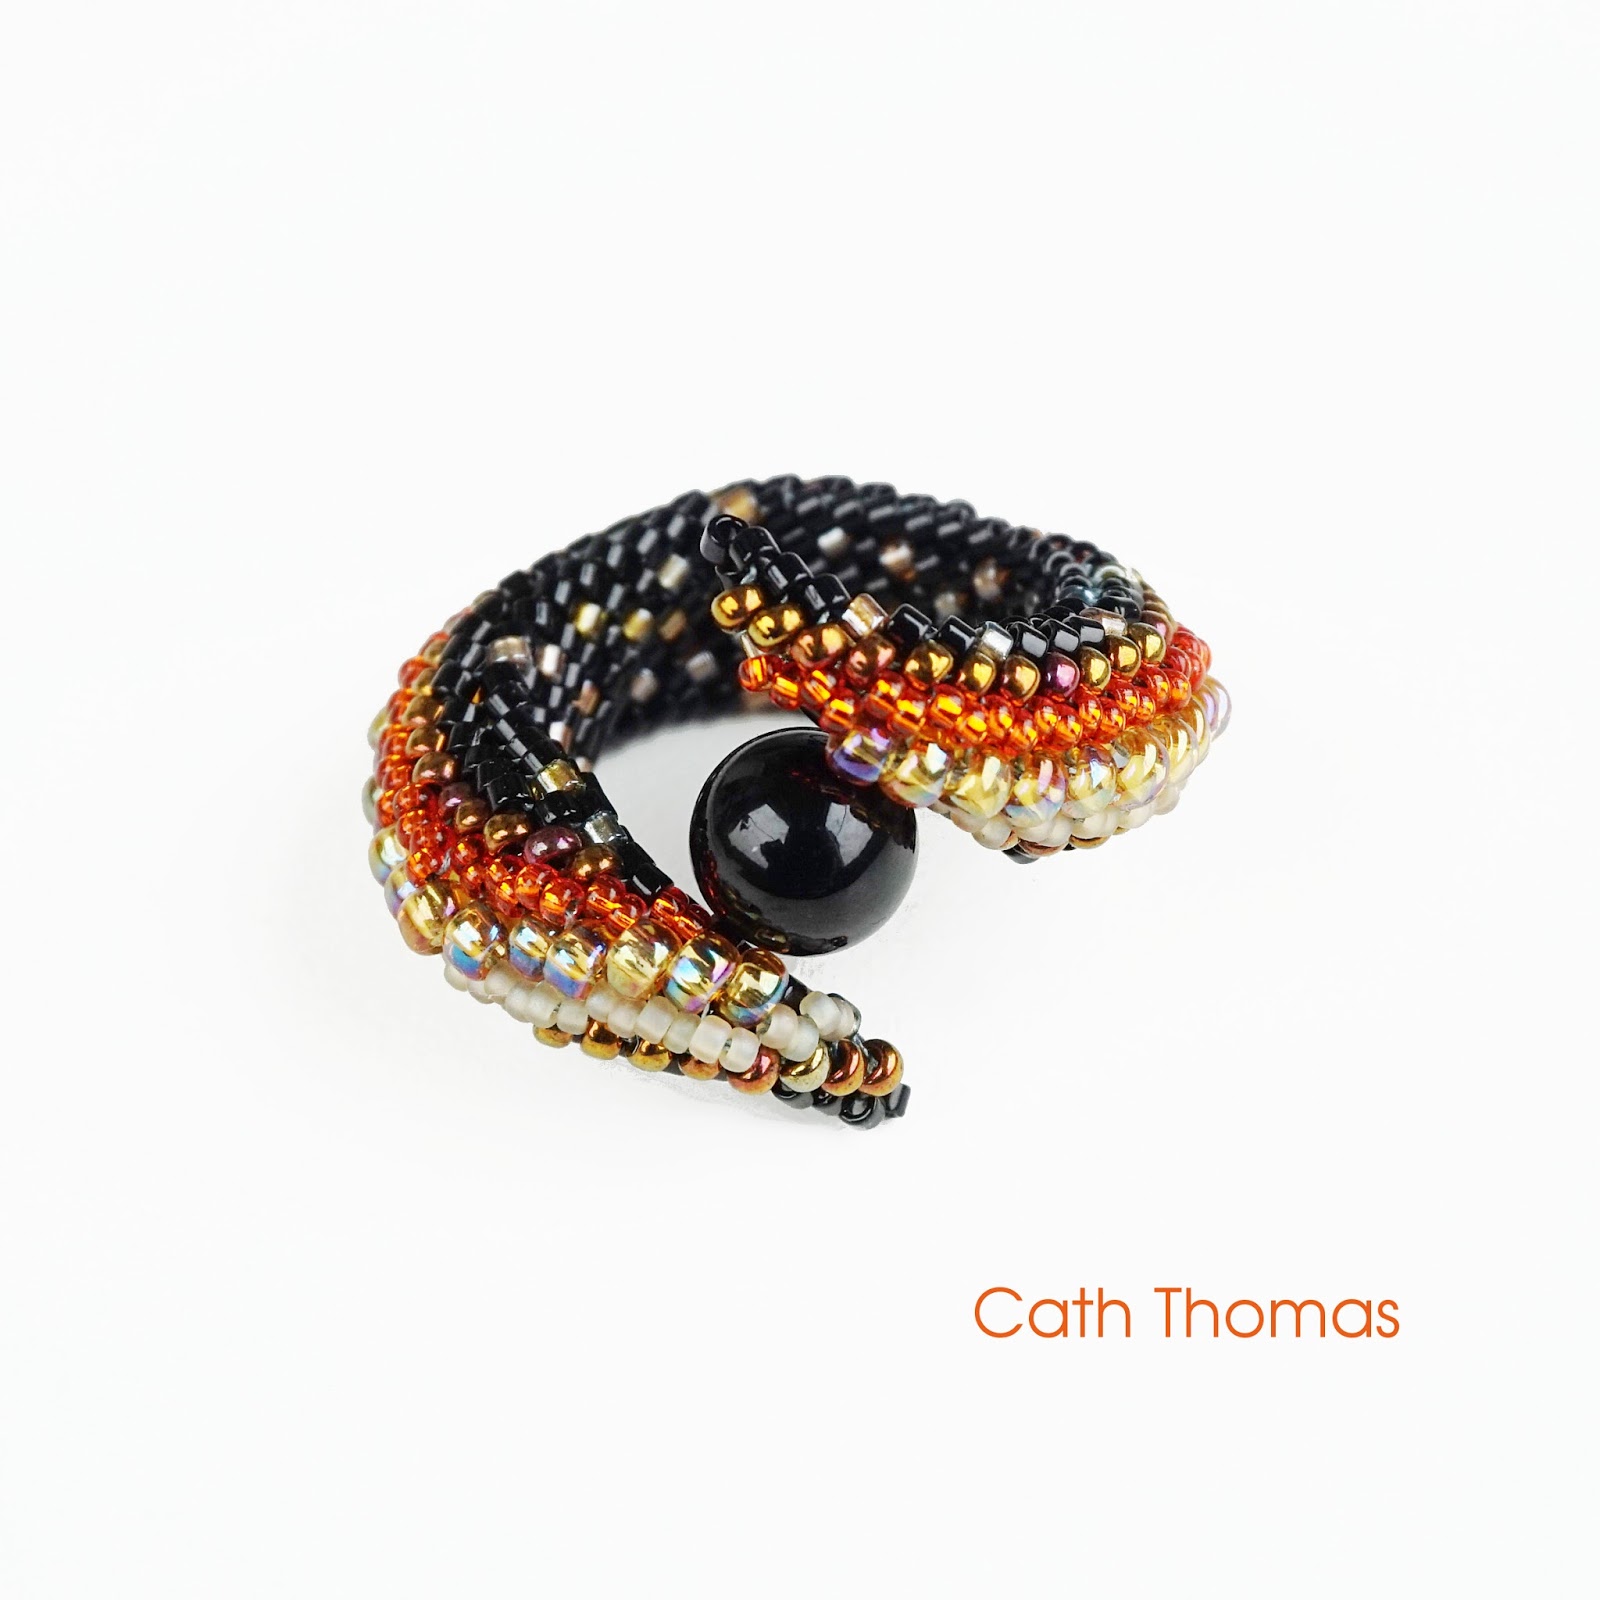
Cosmic Spiral (not Cellini peyote, but it's got pearls and swirls)
After coming up with the dimensional Cellini peyote shapes within the framework of my 'Waves and Flames' study, I asked you, people of Planet Bead, if I should make a tut for each  or for all, and if I should create a group on Facebook where to share ideas and many answered that you wanted "all". Of course!

Lotus Bangle, Mermaid Tails,
Parrot earrings, Precious
Pomanderand Tulip Tassel
"Open Heart" - pendant, earrings,
bracelet and necklace
So I made nearly all the tutorials, individually, and also listed them as bundles: duos, a trio and  a quintet for the pieces I made with the 'Flames start; and 1 tutorial for several designs made with the 'waves' start.
I haven't made tuts for everything yet, but I have created the proposed Facebook group, to share ideas with like-minded beaders, who love this stitch too: the "Cellini Peyote Freaks" group. You are welcome to join.

'Waves and Flames, unfinished'
In this group you will find my paper about the principles of the "Waves and Flames" start, including guidelines to make a "Waves and Flames, unfinished" bangle. If you are not into Facebook, you can send me an e-mail via my website to ask for it.

To have something new to photograph for the banner of the group, I beaded up something swirly, of course: a Cellini bezel, which became a beaded bead.


The Cellini bezel is an old idea, left in a drawer, which I took out for the pink ice CZ in Anthea's Tiara - I wanted the bezel to match the Yukka Flowers. It is based on diagonal peyote.

Pink Ice cubic zirconia on top of Anthea's Tiara

And as explained in my previous post, this gave me the idea to make a gigantic bezel for a tape measure.

Cellini Measure Tape
My first try was not what I wanted for the tape measure and so it became a beaded bead.


Because of its resemblance with Mexican woven basketry (canastas), I called it Bola Canastas. 
It provoked something inside of me. Something I cannot explain in words, but these bolas are addictive. I made more. 
And more.
And more!


Rounder, longer, double etc. 


It's so much fun.


Because I have to take a break to rest my arms, instead of adding this to my pile of stuff to tutify, I posted a short, pretty bad video in the group, to show the beady world how to do it. It's just a technical trick... Amazingly, many beaders got instantly hooked too. Enthusiasm is infectious! I love that. But my video was unclear, so I made a graph and a new video, which you can watch here too:


In the Cellini group, many members seem to actually never have done Cellini, so I created class rooms and made the first graphs for 2 basic techniques, so that they can get started. There is still more to do. It's a nice place, with advanced beaders and beginners, and members are helping one another. Isn't that awesome?

Interaction with other beaders is what I love most. It is what keeps me going and writing patterns and inventing new designs. "Drink me" will probably be a tutorial (perhaps the tape measure too!). Perhaps even a kit, but I will have to find a better quality tassel.


Unfortunately for my arms, all this provoked massive tendon-overload, so now that my video is up, and you beady peeps can fly, I am going to slow down the pace, and thus...

I need help

I need a little help in the group. Thankfully Elisanne M. McCutchen joined nearly immediately as Admin. I am so grateful for her help. But we need moderators. So if you have a passion for beading, are inclined to help fellow beaders, and know Cellini peyote, maybe you will like to help moderate the group? It's not complicated: approving (sometimes rejecting) new membership requests, help newbies finding this or that information and perhaps delete a post that is off-topic.

My dream team would be composed of one more person in the Americas, two from the East (Asian, Australian), one or two more from Europe / South-Africa (or anywhere in between) and a Russian and a person from the Middle East. That would really be awesome. One instead of two would already be awesome, but you've got to aim for the moon to land among the stars, as Antoine de Saint-Exupéry said so well.

Enter the rabbit hole. Let's celebrate Cellini peyote together.


Thank you!!

Cath


Saturday, March 24, 2018

Waves and Flames - explorations with Dimensional Cellini Peyote

"Waves and Flames"
"Embers"
When I made my "Waves and Flames unfinished" bangle (the left, pink and grey one) based on a Rick Rack start, in the hope to find an easier method to make and teach "Embers" (read: without damaging fingers, needles or beads) I didn't expect what happened next.

I had to better understand the whys and hows, to better explain it to you. I made samples to show the difference between this & that start and the construction methods.. and this happened: a big pile of projects and ideas. I want to make a necklace  that will take... forever. I need 10 other me.

But first of all, and related to this bundle of work primarely because it was inspired by the Embers cuff, I'd like to show you this "perpetual" Dimensional Cellini spiral which isn't PWAT, also not the indespiral. It is stiff 3D Peyote, and asymmetric. It is just a prototype. If I'd continue beading, it would become gigantic and, just like everything in the Universe, the ends would eventually, meet, but that would take many, many loops and I need my tendons for other exciting things. Read on! 

'Perpetual' peyote ring


So here is what my muse and I have been up to the past months while playing with 3D Cellini peyote:

First I came up with little pods that are hollow and are totally perfect cord ends, but can also be excellent slides, as you can see here. I love how these pods look like fishtails when snuggled up :)
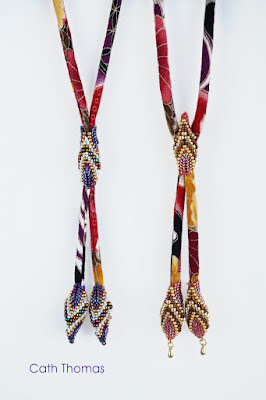
Cellini slides and pods
 As some of you know, I love to add little metallic accents to my beadwork, but here I also could include Chirimen cord (and tassels and metallic drops). Chirimen cord is a Japanese Kimono fabric with cord on the inside. It is lovely, colorful material and I can't get enough of playing with it.

Then I made this special necklace, "Chirimania". I passed the Chirimen cord through a ring that makes the length adjustable. The pendant shows 2 "Open Hearts" which are built in the same manner, but folded differently.

Did I mention somewhere that I love to fold and zip peyote? ;) :D

"Chirimania"
"Open Hearts"
When making the bail, it reminded me a bit of the Hooded Grebe, which is a critically endangered bird species that has one of the most amazing courtship dances of its family. But once attached to the open heart, it reminded me of a quidditch ball with wings up high. Which inspired me to revamp an old pendant that I bought eons ago from the Metropolitan Museum of Art gift shop in Geneva.

I played happily with the Open Heart shape. I think that it is very beautiful (and you can see a photo-shopped Heart chain, which is the project I referred to above).

"Open Heart" - interchangeable thanks to magnets
"Open Heart" earrings

"Heart Chain" necklace project
Hogwarts pendant:
Quidditch bail, Open Heart pendant,
with a reproduction of an ancient rising
Pheonix pendant
I also tried to make a closed heart, but that didn't work so well... it became more and more difficult at each row, and so not something I'd teach. A bit like Embers, an impossible thing... but I love it.


Still decided to make a bangle, I started one in pink and gray, with more beads, and bling fire-polished beads, based on a waves start which doesn't shrink like a flames start, but there still is shrinkage and the bangle ended up becoming a beautiful, reversible scarf ring, which I love very much.


Intrigued by this astonishing shape, I made a second one using seed beads and delicas only, and to my surprise, ended up with an adorable little dice-shaped lantern. I love it even more

Cellini Dice earring

Still on my quest to make a bangle, I a beaded a Cellini tulip. It brought more insight about the number of beads I'd need to use in a start for a bangle, for which I thought that I was ready...

Cellini Tulip pendant

... but I made a mistake in my count. When not built on a disciplinary Rick Rack (and even if...), flames somewhat shrink (enormously) in the process and it ended up the size of a napkin ring. I didn't need napkin rings, so I made this beautiful ball, inside of which I put a musical bead - it's fun to play with! Now I feel the need to make a real "pomander", as I call this, with real essential oils - tell me in the comments what scents you love the most!

Musical Cellini Pomegranate
or Scented Cellini Pommander

Then 2 new inhabitants of my aviary, 2 beautiful Turquoise Parrots, "Neophema Pulcella", strongly inspired me and I finally made a bangle based on a waves start with their beautiful color.

My beautiful Turquoise parrots (and Fluff'dePuff' at the front)
So here is my "Parrot Wings" bangle. Although in the photo below it looks a bit impressive, it is a quite dainty bracelet, soft around the wrist.As you can see, the colors are not my ordinary colors. 

Parrot Wings in Turquoise and Yellow


I think that the bangle looks like parrots in flight. See below a photo of another parrot in flight. When I see it, I feel happy that my birds can fly in our aviary.

Parrot in flight
I beaded another one to see what difference the bead count would make in size and the answer is: an enormous difference. I'll explain this in my tutorial. I added a small hook clasp to the second bracelet.

Parrot wings in Pink and Yellow

I matched colors with my new handbag


Of course I also made perfectly symmetric Parrot earrings. How could I not? I love these very much. They look awesome when worn.
I like to add something at the point of my shapes. It makes each piece different. First I added feathers to my parrot earrings (from the feathers lost by my birds during their moult), but they're very long, and so I prefer the shorter version with metallic feather charms.

Parrot earrings with feathers
Parrot earrings with metal charms

I didn't expect that I would wander such a path of exciting finds again. But voilĂ ! I tried to make another sort of Embers cuff, based on a Rick Rack. The Rick Rack became something totally different and there still is no other sort of Embers, but now I know why it didn't work, and thanks to that, there are beautiful Cellini waves and flames, and I am more than happy with it all.

I also haven't finished exploring. It is so much fun to bead. I hope to soon finish a bangle based on the flames, and I have started to illustrate the instructions. I made a gazillion photos... but now am wondering how you would prefer this to be brought to you? Would you prefer:

a) a separate tutorial for each shape / project
b) 1 separate tutorial for the flames and 1 separate tutorial for the waves (4 to 5 projects with flames, 4 to 5 projects with waves)
c) 1 big tutorial - something that would actually nearly be a book, with about 10 projects,  including the Waves and Flames Rick Rack.
d) all of the above and a Facebook group where we could happily share all new finds, right from the start and beyond.

Thank you in advance for your feedback!


Saturday, March 25, 2017

Something twinastic: Pinwheel cuff.

For their "Spin the World" March design contest, Preciosa Ornela sent me a selection of their Twin™ beads. Two types: transparent matted crystal and transparent matted grey Twin™ Seed beads and a green satin and opaque black Twin™ Pressed beads. Yep. Seed beads and pressed Twin beads. And the pressed one is actually not brand new, but I now understand better why some Twin beads seemed to suit a project better than another. Read on (and click on the images to see big photos).

Screenshot of Preciosa's presentation of the Twin beads

The first Twin beads we discovered several years back are what they call seed beads. They are, as far as I know, the first two-hole seed bead to hit the market and ever since, manufacturers rival with new ideas to make more multi-pierced beads. The seed bead Twin is oval, not always very consistent in shape, so a bit of culling is necessary. Overall, a very nice bead that offers plenty of design possibilities.
Clever new package

The pressed version has a horse-eye shape, thinner at the pierced ends and so offers more room for other beads between them. They are very consistent in size, resulting in a very even, flexible beaded fabric, at least in the samples I made with them. Beading with them is truly delightful. Twinastic!

The package these new Twin beads came in also deserve a thumbs up, because it is extremely practical and clever: a little plastic box with a cardboard back acting as a lid. The cardboard has to be slid open and can be reclosed. Much better than little bags to tear open.

Initially I planned to make Butterfly Ropes and Sera alla Scala necklaces, because these designs ask for them and I needed a cord for my reading glasses, and something for everyday. I started with the black pressed Twin beads, with pinch beads instead of firepolished beads. The cute Lady Bug look came as a nice surprise. I promise myself to make more of these, a green one for myself, and more for friends who fell in love with it too.

Lady Bug Butterfly Rope

Then, before I even got a chance to start a Sera alla Scala, my muse interfered and said no, no, no, make something new, something like "this". With "this", Eddie meant a small piece of dense beadwork with firepolished beads and tiny pearls - a test I made using Variation no. 9 of Diamond Weave in which I had substituted a number of parallel beads by Twin beads.

"this"
I listened to my muse, because he is a clever guy, and also because I wanted to see what it looks like to use only two-hole beads in place of all two parallel beads, so I replaced all the firepolished beads and pearls by Twin beads too. I used the satin green pressed Twin beads and tried a perfectly matching yellow gold metallic size 11/0 seed bead, also from Preciosa, but the size 11/0 did not cover the thread enough. I then tried with tiny white 2mm pearls. and they worked beautifully! However, I wanted a more subtle accent color, so I grabbed a tube of size 8 charlottes and that was exactly the look I hoped for.

Academy Pinwheel Cuff with Twin Pressed Beads - DW var 9

I am very happy with the result. The charlottes are a delight when worn. With their 'only one facet', not all showing to the front, it blings beautifully here and there when moving the wrist, as by surprise. Believe me, not one photo does these subtle tiny treasures justice, you need to experience them in real life. Slightly domed yet supple, the bracelet has a lovely repetitive motif that reminded me of little pinwheels and of the clothes of the honorable members of the AcadĂ©mie Française, hence the name Academy Pinwheel Cuff. Honni soit qui mal y pense.

Academy Pinwheel Cuff with Twin Pressed Beads - DW var 9

To better show the pretty pinwheel aspect and see if I could incorporate true 2mm firepolished beads, I made a second cuff with the Twin seed beads. I chose to make it a continuous band, with elastic at the edges. Stiff, yet extremely comfy to wear, I love it!

Pinwheel Cuff with Twin Seed Beads - DW var 9

Pinwheel Cuff with Twin Seed Beads - DW var 9

Because the result was so encouraging with the Twin seed beads, I had to try with other two-hole beads. Here again, I was happily surprised by the result when using Ios® beads by Puca. I used true 2mm firepolished as accent beads in the ivory version and 2mm matte hematite rounded cubes in the satin copper version and both worked very well. I find it so pretty that I decided to write a tutorial as soon as I have a moment (I am still working on the Farfalle stitch tutorial - soon finished).

Pinwheel Cuff with Ios® Beads - DW var 9

Pinwheel Cuff with Ios® Beads - DW var 9
I also tried this stitch with Rulla beads, which didn't work at all, and then my attention got back to the Sera alla Scala necklace I initially planned to make. 

Sera alla Scala in gold, red and black

And I made another Sera alla Scala rope with magic topaz and black pearls. 

Sera alla Scala ropes
I'm having fun, and I sing to myself. "so many beads, so little time"...

Thank you for visiting.